Animating Images and Moving Montages

I’ve been playing around with my own photographs and the Plotaverse app for a while. It’s a quick way to bring life to images, as sections can be ‘animated’ through an easy process. Simply mask off areas to remain ‘still’, and draw directional arrows to indicate the ‘pull’ of motion, and you’re in business.
There are many interesting opportunities for students here, but the challenge is not really in the process because the app can generate a product quickly. Making the connection between the image and the animation technique is key in terms of creating a meaningful result.
Planning a Plotaverse by visually compartmentalising the photograph and considering how the compositional ‘segments’ can work together requires a lot of thought and creativity. It could be really valuable to make strong connections to the elements of art and design with students at this point, discussing the relationship between the rule of thirds and balance, constructing a focal point, manipulating the background to produce a sense of space, etc.
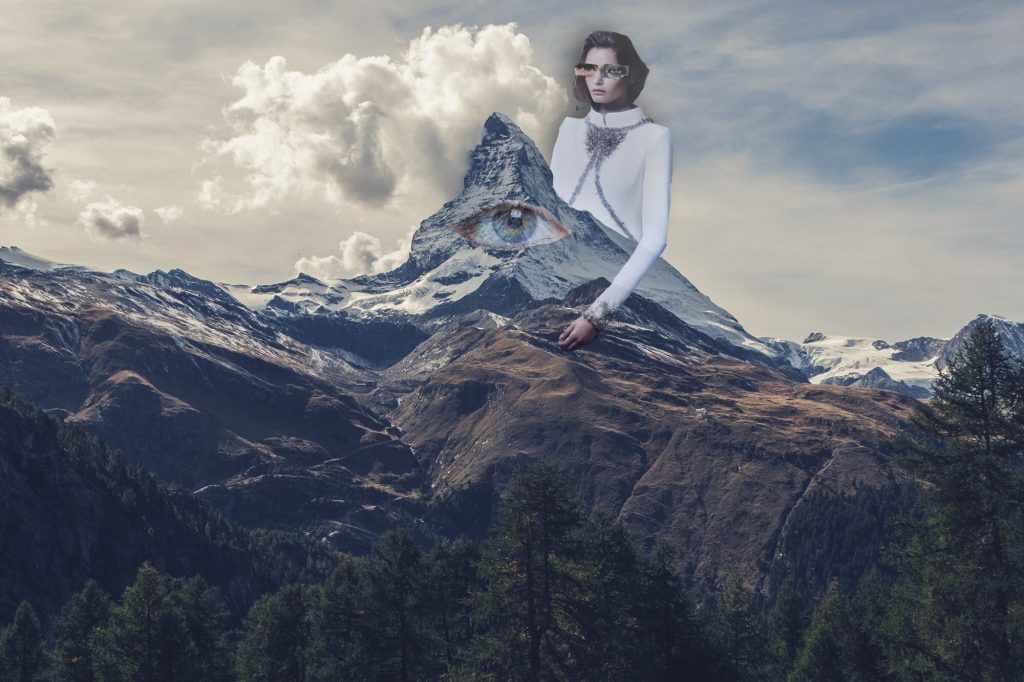
Here’s a digi-collage a student created using collage on paper and photography…

And the ‘moving montage’ created using the Plotaverse app.
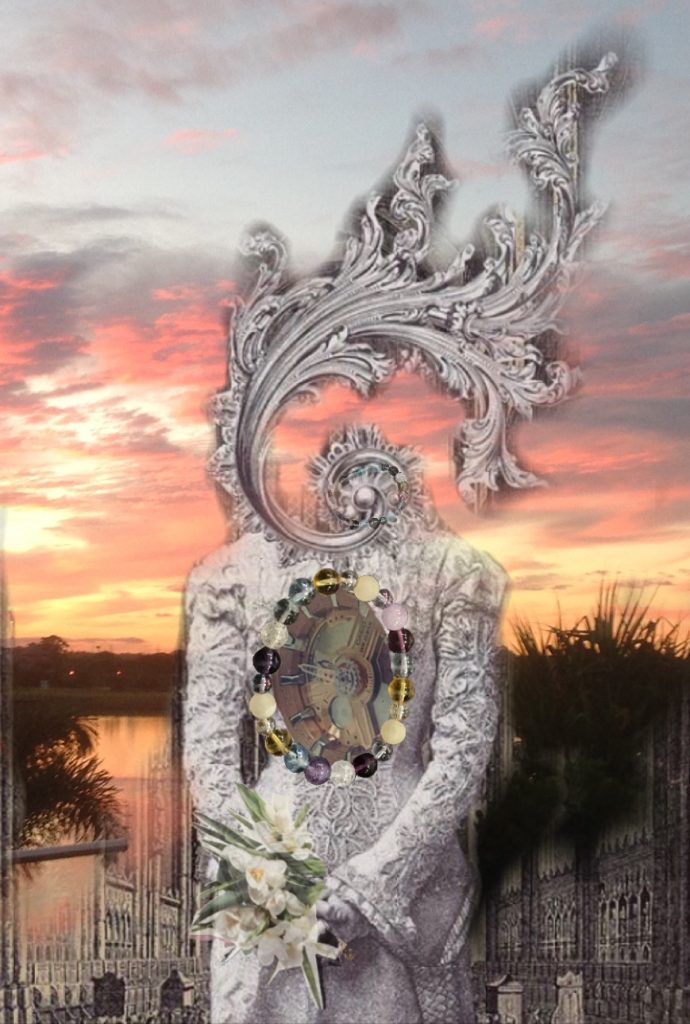
You can see how there is a really exciting conduit between the collages, produced on paper, and then the digitisation process that results in an animation. By moving between these creative mediums, students can see that the creative process is not a linear one, and they can leverage a mixed media approach to communicating an idea.
Here’s another example of a collage created on paper and the following Plotaverse animation…

I can’t wait to see what your classes produce with this idea 🙂


