
Clay-mation
-
a method of film animation using adjustable clay figures and stop-motion photography.
In the past, animation production was often too daunting or impractical for many educational contexts. Specialised, expensive equipment was required and there was a technical, time-consuming process to deal with.
Now, mobile devices and simple apps make animation accessible and teachers are discovering that stop-motion can be an exciting medium for teaching and learning.
Have you tried claymation in your classroom yet?
Why not? It’s easy.
Claymation is an ideal entry point for teachers wanting to blend physical ways of working with iPads, phones, etc. Technology is an important part of the process, but stop-motion can redefine concepts of ‘computing’. It’s a flexible and engaging method of creating content that can be used across subject areas or to combine them and encourage partnerships between teachers.
No matter the age or level, students can write, design or conceptualise a project from scratch and then organise, direct and implement it. It’s an exciting premise for learning.
What can we create with claymation?
The applications for teaching and learning in your classroom are as endless as the possibilities rolled up into that ball of clay. Projects can be simple, but they can also be multi-step and richly layered.
Here’s some ideas to get you thinking about claymation in your classroom
You could animate a story, for example…
* Produce animated versions of student’s own narrative writing
* Retell a story presented in a picture book or a chapter in a novel
* Create visuals to a monolgue, speech or poem
Create an instructional video, perhaps…
* Matching words to ‘moving instructional prompts’
* Creating ‘how to’ videos, or
* ‘Show what you know’ clips to teach others
Explaining a concept or illustrating a theory, imagine a clip that…
* Animates the process of cell division
* Demonstrates liquid changing to gas
* Visually represents multiplication
* Explains ‘big, bigger, biggest’
You’ll notice that in some of these projects students would need to research the content and work out how best to apply their knowledge to share their information or story creatively.
My favourite idea is to simply give students a ball of clay (and maybe some google eyes – see below) with no further restraints and see what emerges!
Creative and Collaborative Claymation
You’ll notice that some of the ideas listed above require significant planning and often storyboarding is very helpful. The flexibility of the medium allows very young students to make simple, one scene movies, but the complexity of claymation can be built right up to Academy Award-winning quality.
Interestingly, there is often a balance between careful planning and decisions that students make on the spot. These ‘pivotal moments’ are filled with opportunities for learning.
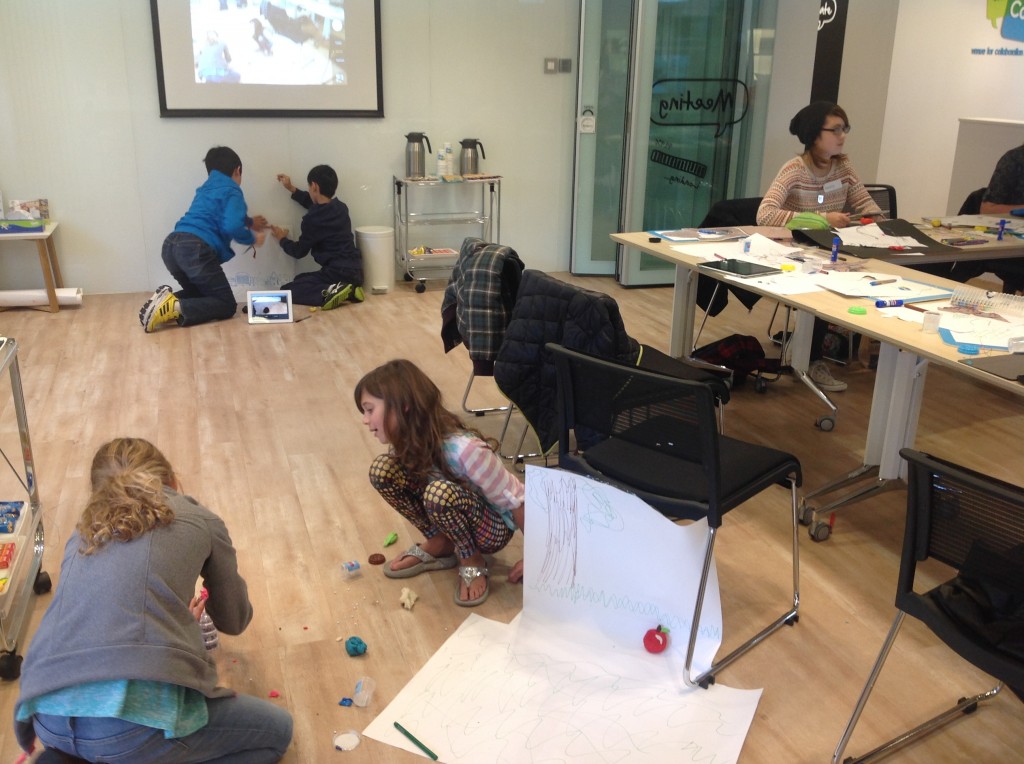
Watching a class work through stop-motion production is a study in problem-solving and you can often watch creative confidence grow right before your eyes. As students see their stories coming to life they begin to interact with materials and the environment differently – iPads will be propped up in strange positions to get ‘just the right angle’, boxes of crayons will be upended because ‘I really need this box’, and the energy in the learning space is exciting.
In projects where students work in teams communication must be free and direct. The best outcomes are a result of support within the team and each individual’s contributions being valued. Opportunities for students to explore their strengths and weaknesses abound, and true collaborations empower students to harness their own talents as well as the combined skills of the group.
Sharing films has such value in these projects – students develop the confidence to let others see their work and opportunities for critique and reflection come naturally. It is also important to remember that as students often prefer to learn from each other, the movies they make can become valuable resources for sharing knowledge.
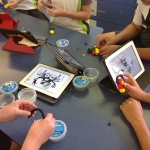
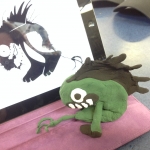
The creative learning journey is often as important, if not more so, than the end product. In the photos from my Art Room below you’ll see a series of activities based on mythical creatures that includes claymation. Students use the Daily Monster app and create 3 dimensional versions of their creatures, which are then used in claymation, and of course they love it! This kind of progressive unit is not only a seamless investigation of a wide variety of skills – important connections are made between mediums. Students have an opportunity to work with objects they make and are really challenged to think about the way they interact with the creative process and their role as a creator.
So here’s the ‘how tos & hints’…
 Use a simple app such as iMotion HD – clean and clear, the technology does not get in the way of the making.
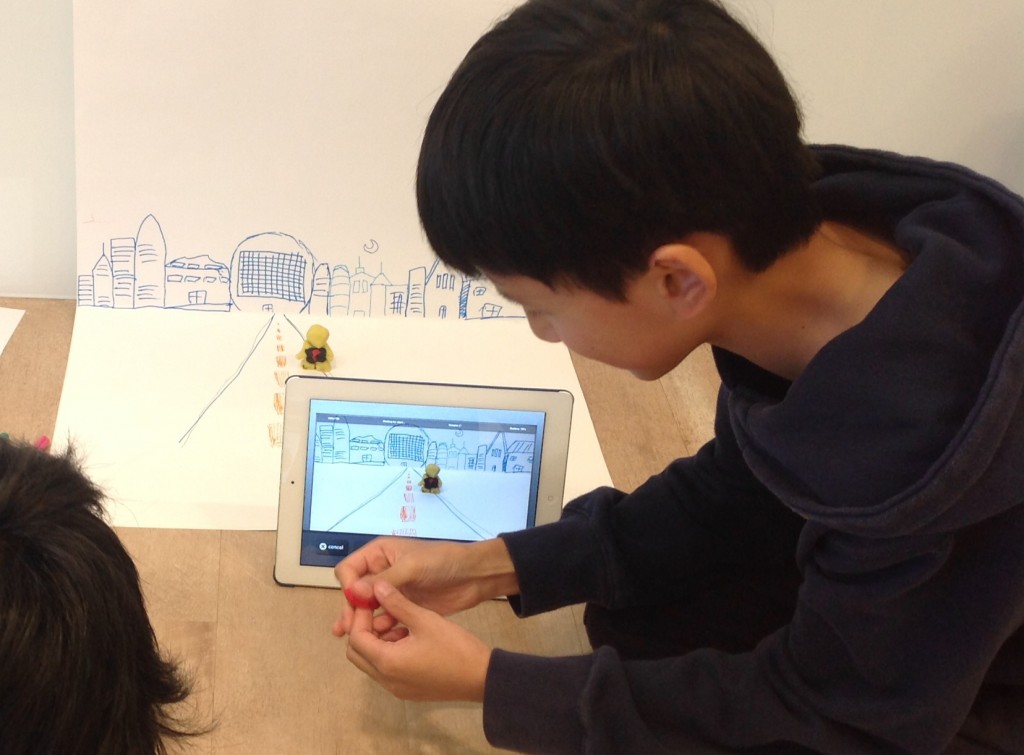
I like to give students a time to explore the app and find out how to use the technology themselves. If you give students a small ball of play dough, it won’t take them long at all to work out what to do. Sharing these initial investigations is a really effective way to talk about the features of a successful claymation film – simply hold up the iPads, press play and you’ll have a lot to talk about with your students.
Some of the main things…
Take some time to consider and control the background
Clean coloured or white paper is fine, just make a little space and use it as a ‘stage’. Of course, you can also draw on this, use images, shoot on location or outside…you are limited only by your imagination.
Make the most of the lighting
Bright light is important to make the most of the camera on the iPad, so choose a well-lit area. I also have small LED light clamps that are battery operated to create shadows, spotlight characters or just light up a dull space.
Keep that camera still!
Okay, you don’t have to, but it’s often a case of once you know all the rules, then you can break them. To start with, the more successful animations involve moving the subjects of the film only. If you move the iPad and the subjects it’s likely to make the viewer motion sick! Encourage students to find a position where their iPad is secure and does not need to be moved for the duration of the scene. A stand-up case or a tripod can be very handy, but I find that students will find anything laying around useful to prop up their iPads if they need to!
Use a remote app
Sounds tricky, but it isn’t. You can download a remote for iMotion HD that allows you to click the photo capture by using your mobile phone. This means that you don’t have to have the iPad in a convenient position and you won’t shake the shot by touching it either. Check it out when you feel comfortable with the process.
Film one scene at a time
Using a variety of shot types and stitching them together is the way to go for longer movies. You can easily do this and create engaging films by dropping the individual scenes into iMovie, so avoid making massive clips. It’s also a lot less time and hassle if something goes wrong, which it does at times!
The best ever hint…
Yep, this is a goodie. If students are struggling to take shots without their hand in the picture (some do!), get them to use the same hand to move the subject and push the button. Simple, but so darn effective! You can even get them to put the free hand into their pocket and out of the way, which works well with very young children.
A note about mess and materials
Claymation does not need to be messy. If you don’t have a space where you can use clay and art-materials, play dough has very little residue and is almost mess-free. It is easily wiped off with a cloth (tracking a few bits through the carpet is the biggest risk, so think about the flooring). You can produce claymation with one ball of clay, but remember that you may also want to mix media, draw scenery or create elaborate sets using toys, etc.
This little ‘cheat sheet’ was created using student-generated prompts for their first stop-motion movies.
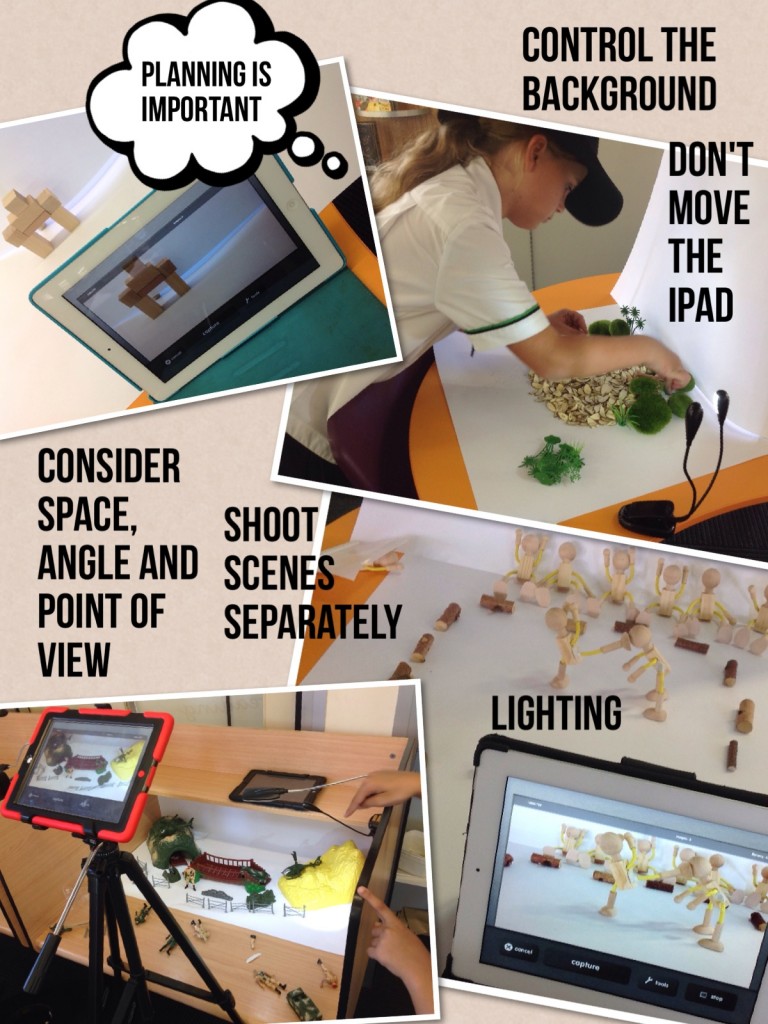
It’s amazing what you can do with clay and a little imagination…
Last Word…try ‘Lego Movie’
 If you are after an exciting app that is suited to more narrative film-making this could be for you.
This ‘themed’ app can be used for any kind of stop-motion, including claymation. While iMotion HD is clean and simple, this app gives students access to some exciting features such as the ability to add sound effects and music in-app. It’s still easy to use, but there are some great tools that advance skills and improve products, such as access onion-skinning and frame adjustments…and the presentation is really engaging.
Claymation Classics
If you liked this post, you might also want to see some amazing stop-motion movies in this inspirational collection, or check out this post on green screen magic.




deez nuts
I want to try this and I really appreciate all of your insights!