
Handy hardware for your iPad Art Room
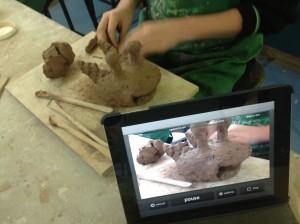 Educators, artists, and all kinds of tech-enthusiasts ask me about equipment to get started with their iPads in the classroom, so I thought I’d share five of my favourite creative add-ons for iPad art-making.
It was hard to narrow down the picks, but the five tools below made the cut for me because they increase or change some of the functionality of the iPad. In doing so they alter ideas about what a tablet is capable of, perhaps even what can be achieved with this kind of technology in the classroom.
My list reflects my belief that creating on the iPad can be a truly hands-on experience. We take our iPads where we want to work, whether that is up a tree or under water, and it can get messy. It can be a paradigm shift for some, because although the devices are mobile, their perceived preciousness can see them tethered, under-utilised or separated from the ‘dirty’ making tasks and techniques. I know that for transformational teaching and learning in the Arts, paint, plaster and the iPad have to, and should, work together. Beautifully.
And just so you know, none of these ‘favourite things’ are part of any paid endorsements – I’m simply sharing what I believe are some exciting and helpful resources that you might want to get in the hands of your students. I’d love to hear about your best bits of kit in the comments below.
Most Helpful – Tablet Tripod Mount
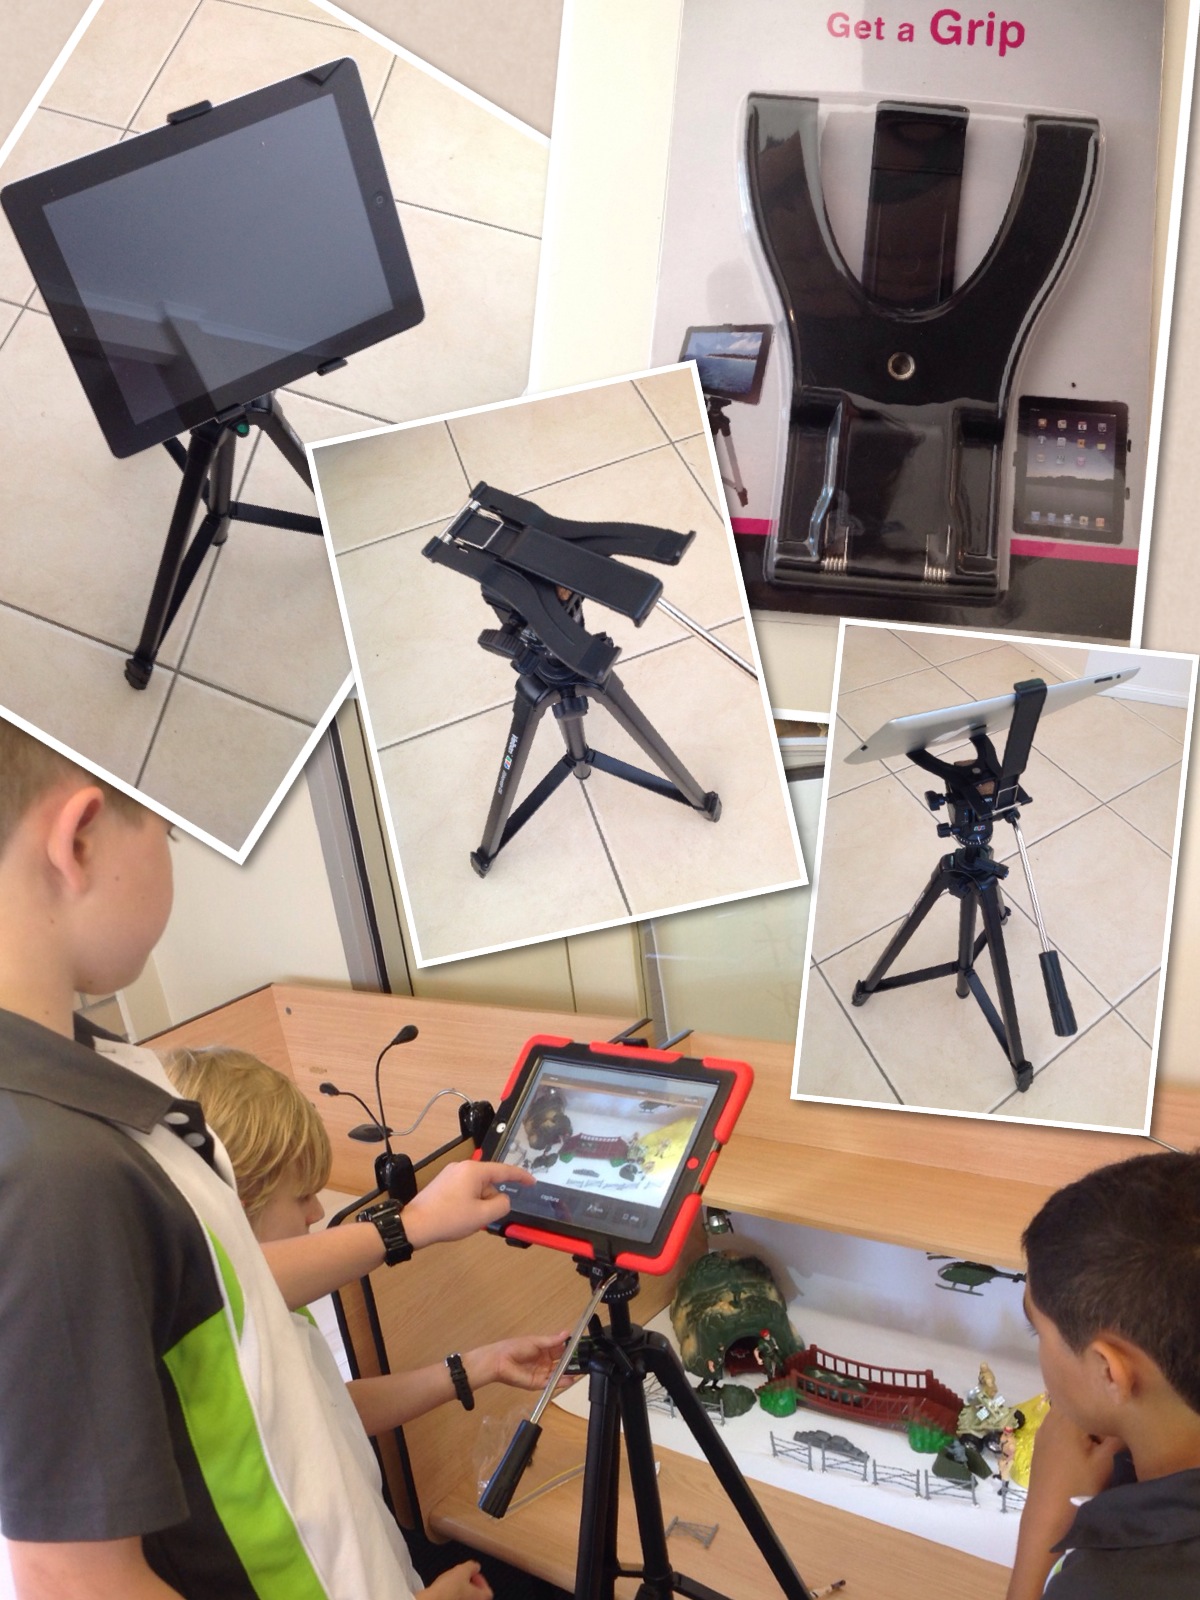
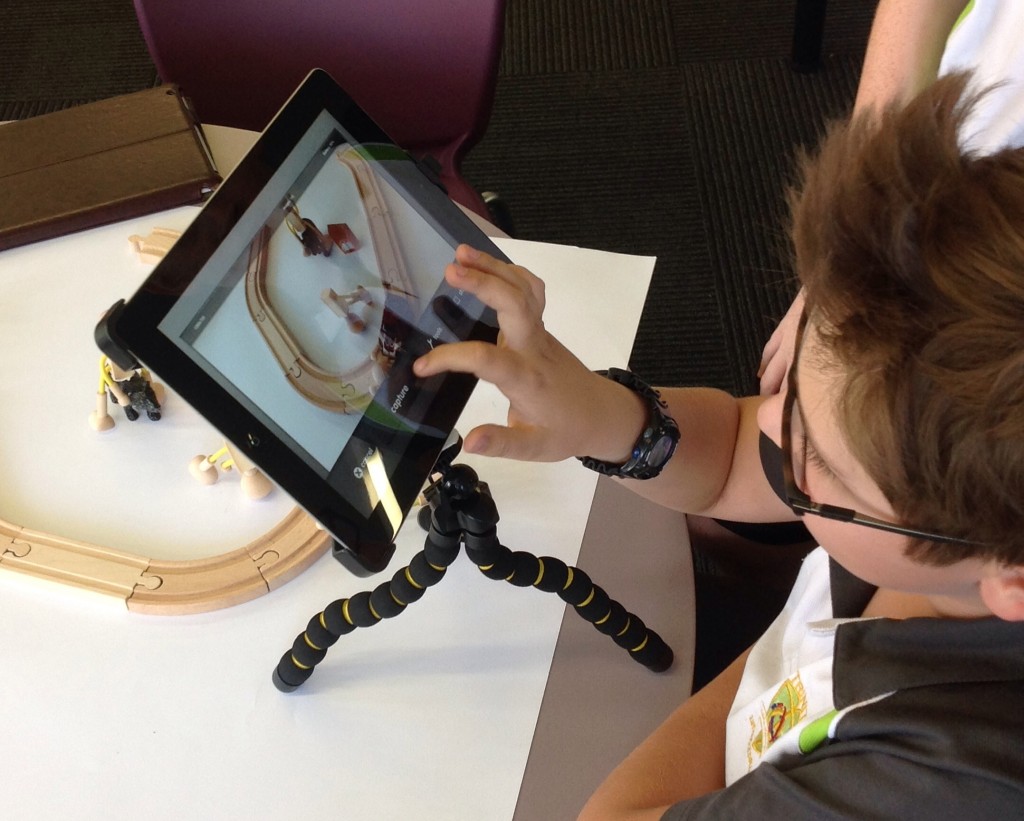
So, you want the students to be able to put their iPads on tripods for film-making or photography, maybe even displaying work? Me too, but often at workshops and in my 1:1 classroom students have all got big bulky cases in different shapes and sizes. This tripod adapter is a winner.
With a clamp that screws straight onto most standard tripod screws/mounts quickly and easily, it is just a simple matter of opening up the clamp and standing the iPad in between the plastic arms. The pressure holds almost all tablets quite securely including iPad Minis, Airs, etc, even if they are in very thick or padded cases. I’m sure there are many variations, all of differing quality, but you can click here to see where I got my iPad tripod mount on ebay.
The search for the ‘perfect’ iPad case continues…but these two come close.
Most Versatile – Multipurpose Case for Creatives
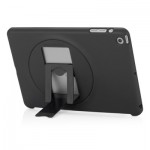
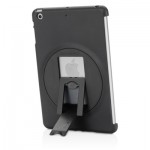
In classroom filled with lots of students, tables and chairs, many projects are run most practically on the desks. Enter the ZeroChroma Vario case. These slim and snug-fitting rubber cases are tough and versatile. You’ve got a 360 degree rotation on the stand, which means that you can prop the iPad up on a variety of angles, as well as laying it back through a huge range of movement for reading, painting, etc. Particularly suited to animation in my classroom, this is the most flexible case I’ve used.
I use this case on my own iPad because the Smart Cover clips straight on, but also snaps off in a split second. This is really nice because many cases have covers that get in the way when taking photographs or filming – watching students trying to angle their iPads to construct a shot with a cover flapping about is a pet hate! I also like to hold onto the grip at the back of the case for extra security when I am presenting or am on the move.
Most Practical – Protection for Art Room iPads
The art room can be a ‘technology mine field’. All that mess, the water and the movement. Since I am passionate about the use of mobile devices in the classroom, I want my students to get up and move about. I need them to access the camera and get mobile on their art-making adventures. For the younger learners in particular, their equipment needs protection.
These Kensington cases are sturdy with serious padding. They stand firm and upright for stop-motion or movie making activities, as well as laying back on an angle suited to using a stylus or getting hands-on. They also sit the iPad up high in the case, which means that there is some pretty good protection for the device when there are those spills on the table as the liquid runs under the iPad. A little groove houses a stylus and there is access to all the outer buttons on the device. I also love the handle – students carry their device like a little bag, gripping it more securely on the move. You can also use it for storage – hang or store the iPads on hooks out of the way.
Most Fun – Film-making Flexi-Grip
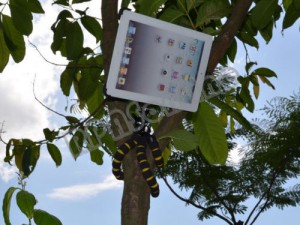 Want to capture a bird’s eye view? Need to prop the iPad up on a rocky shoreline? How about creating a moving shot by connecting the iPad to a skateboard? Yes, we’ve done all this and more with these flexible arms. The best bit about using this bit of kit is seeing the student’s creativity explosion as they explore the endless possibilities for diverse and innovative shot creation in their films. Again, many versions out there, here’s where I got this cheapie (wonder how long it will last?) bendable iPad tripod on ebay.
Most Magical – Sensational Stylus Paintbrushes
There are lots of paintbrush stylus on the market now, but many of them have no ‘bounce back’ or reflex in the bristles. Both the TruGlide and the Sensu feel like a synthetic brush and the slip and slide not he screen is more tactile than a pen-type stylus. While I am not planning on replacing my acrylics anytime soon, using one of these brushes is a lovely way to interact with art-making apps on the iPad. I’ve also found that many students have found these ‘bridging’ tools an exciting entry point to a new medium.
Top Tip:
If your students don’t have their own stylus, you can buy cheapies in bulk from ebay. Simply put the number 50 or 100 after the search term ‘stylus iPad’ and you’ll see you options. While some excellent models are worth a lot more (upwards of $50), even a stylus that costs less than one dollar can be perfectly usable. I treat them as consumables like pencils, and they tend to last about as long.
Read more about choosing the right stylus here.




I rarely use any add-ons with the iPad but I do love to use my stop-motion app iMotion HD with the remote app on my iPhone. Then the students can push the button without touching their iPad. So helpful. Escpecially since they quite often use really flimsy cases and the stands aren’t really supportive.
Thanks for sharing again, Michael. Great ideas.
I like using remotes in stop-motion so those fingers don’t get in the way!
The remote app is also a great way to enhance collaboration in a group.
Pingback: Handy hardware for your iPad Art Room | iPad Ar...
Thanks Cathy, had been wondering what to do for all my shaky personal training videos and this has solved it!