
So you’re starting to think about animation…
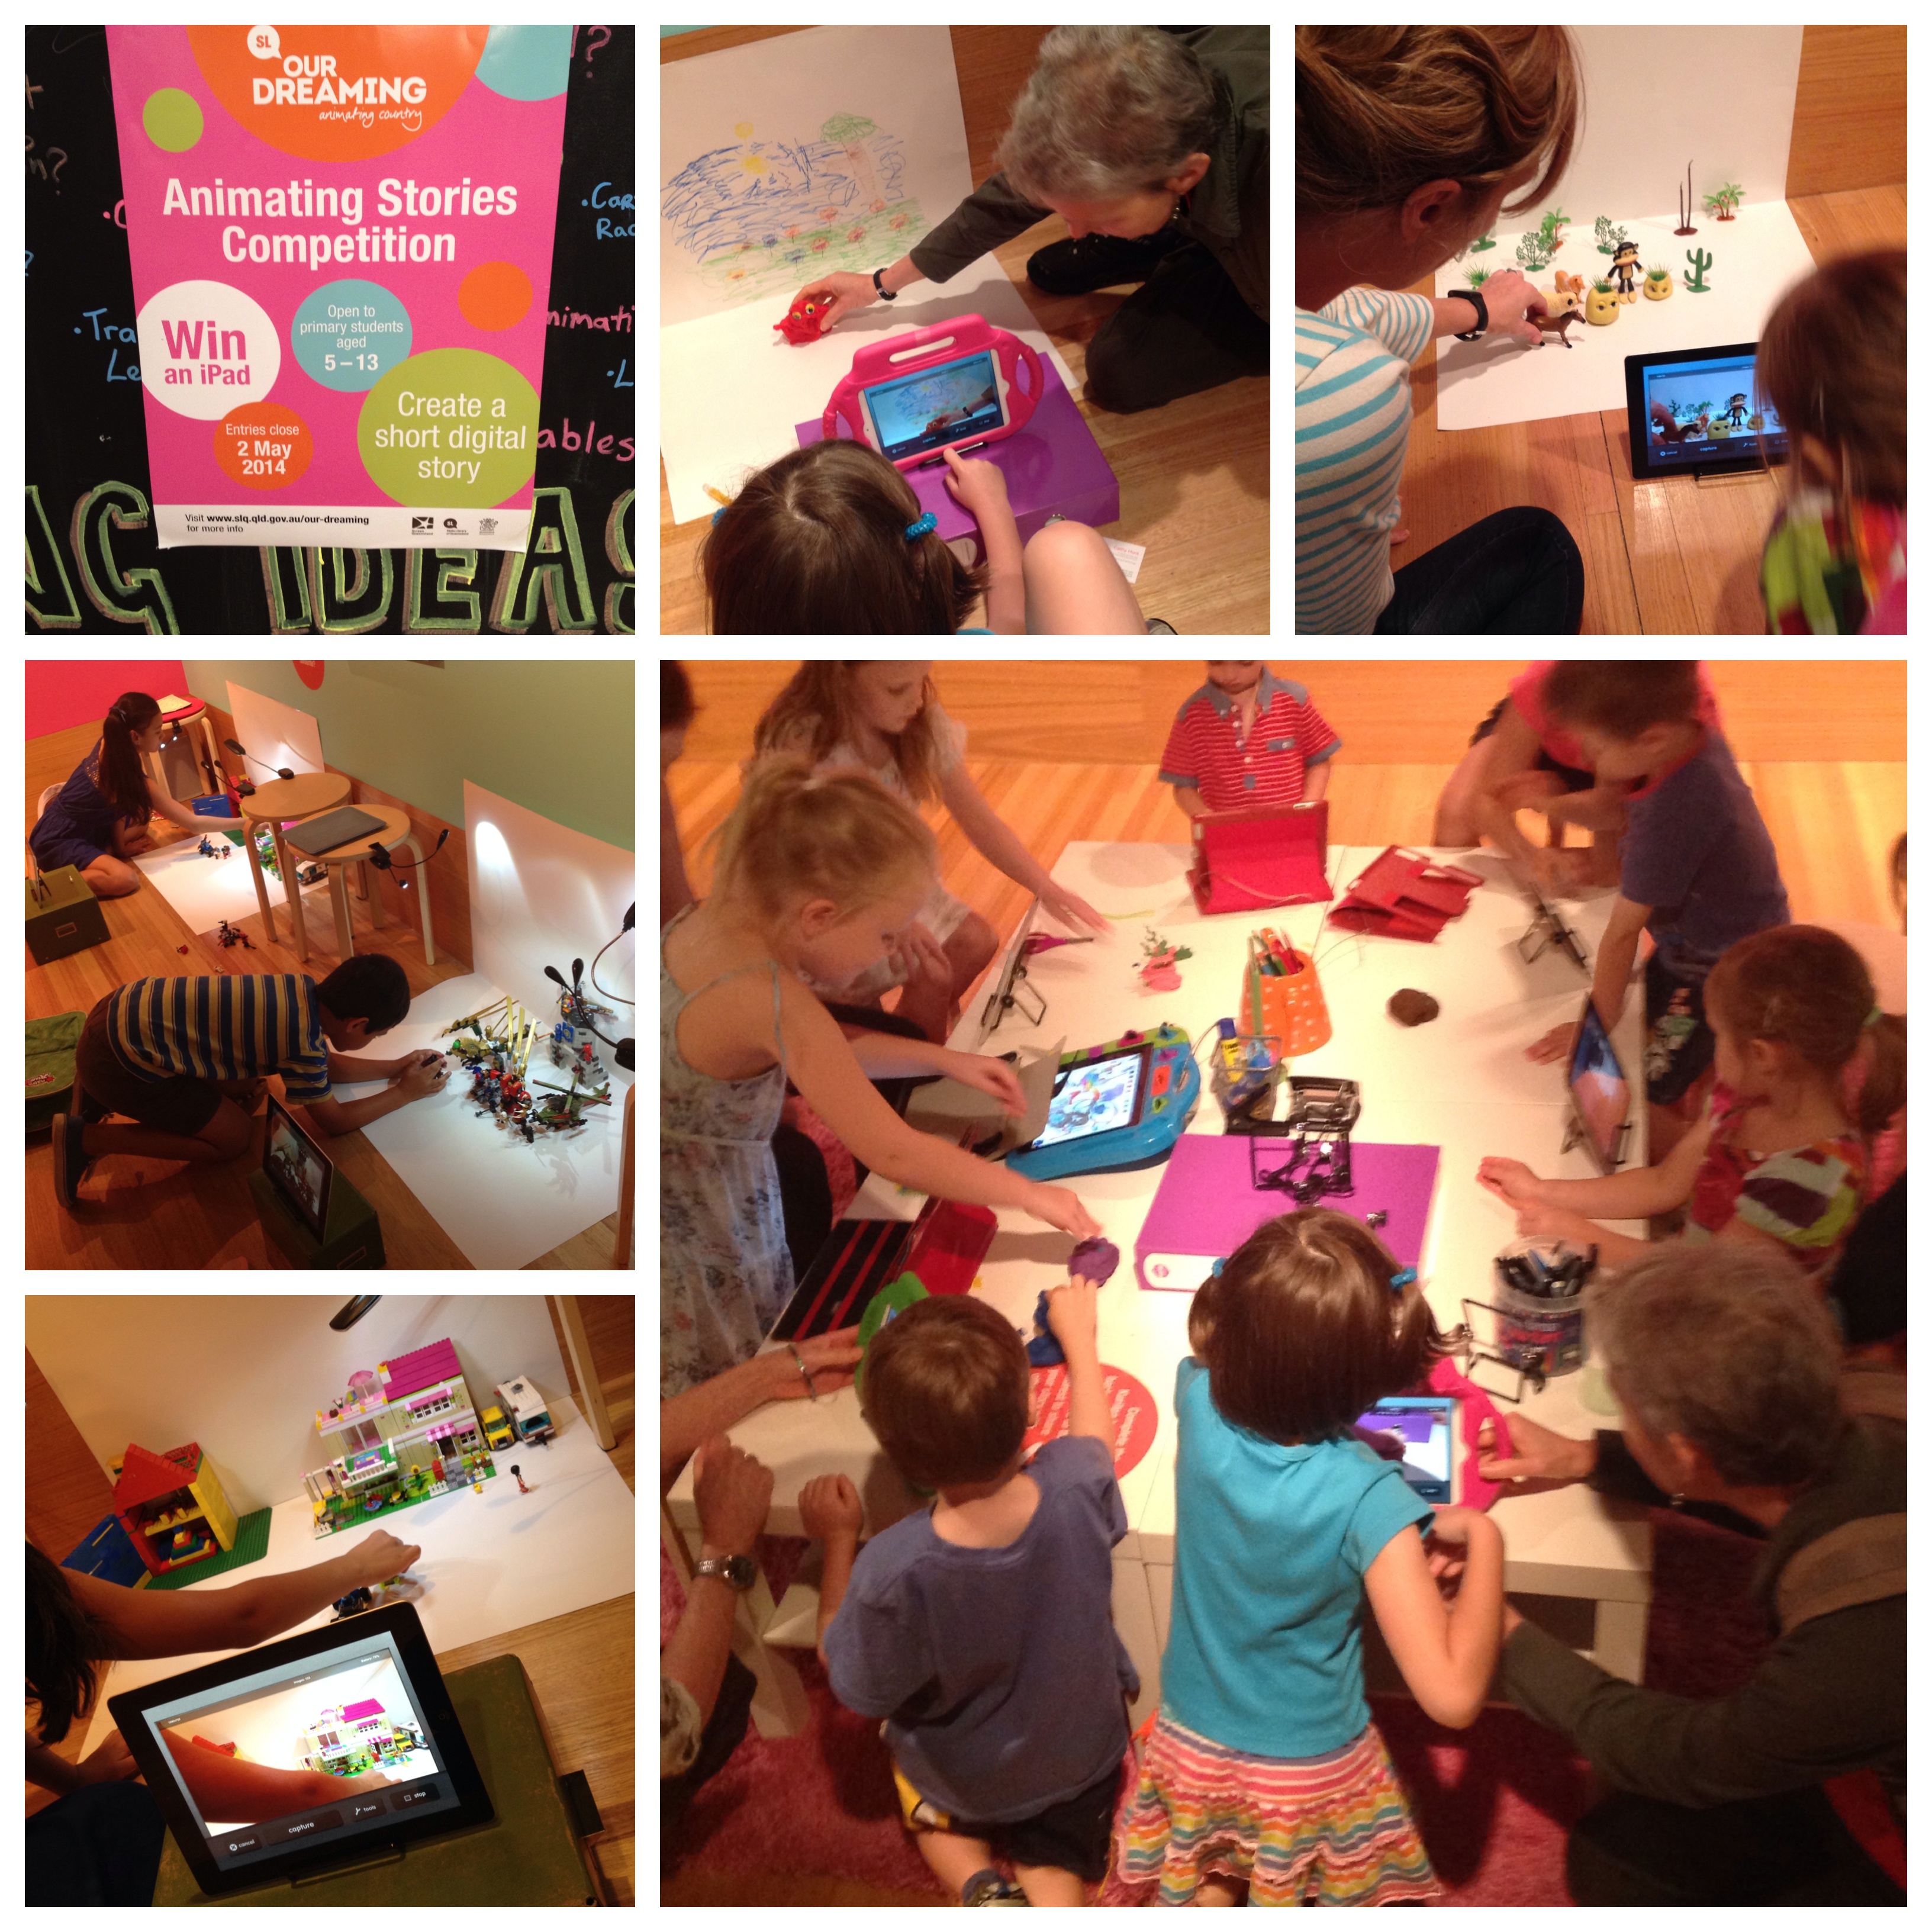
If you’re considering using iPads for animation for the first time but don’t know where to start, my advice is simple – DO start! It’s never been easier to create exciting animated movies in the classroom and there’s some great apps to choose from here.
iMotion HD for Stop Motion and Time-lapse
 Download this free app and get started straight away! Although this app may seem simple, you can create very complex films with a little imagination. Both stop motion and time-lapse film can be created in seconds.
What’s the difference between time-lapse and stop motion? Capture changes over time by setting an ‘interval’ between frames and you can create a time-lapse. Stop motion is all about taking pictures in sequence to create the illusion of movement. The technique can be used to bring inanimate objects to life or produce effects that defy what is possible in reality.
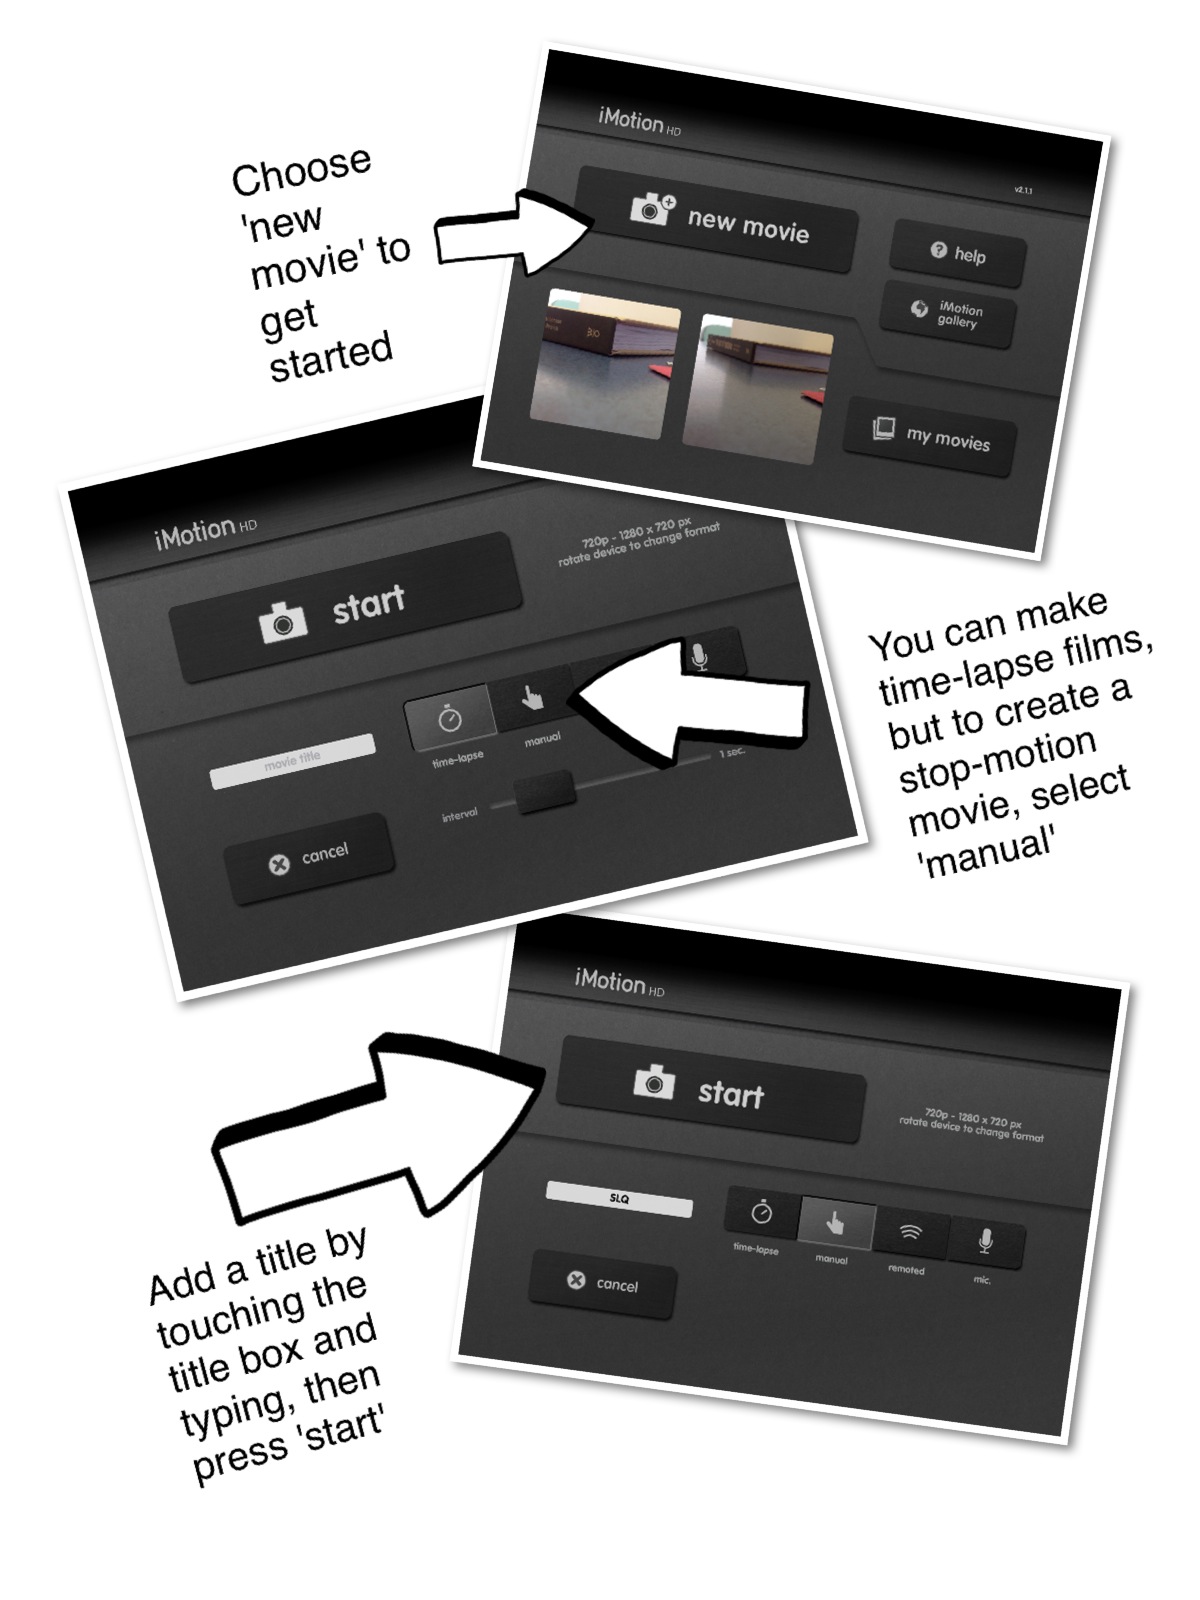
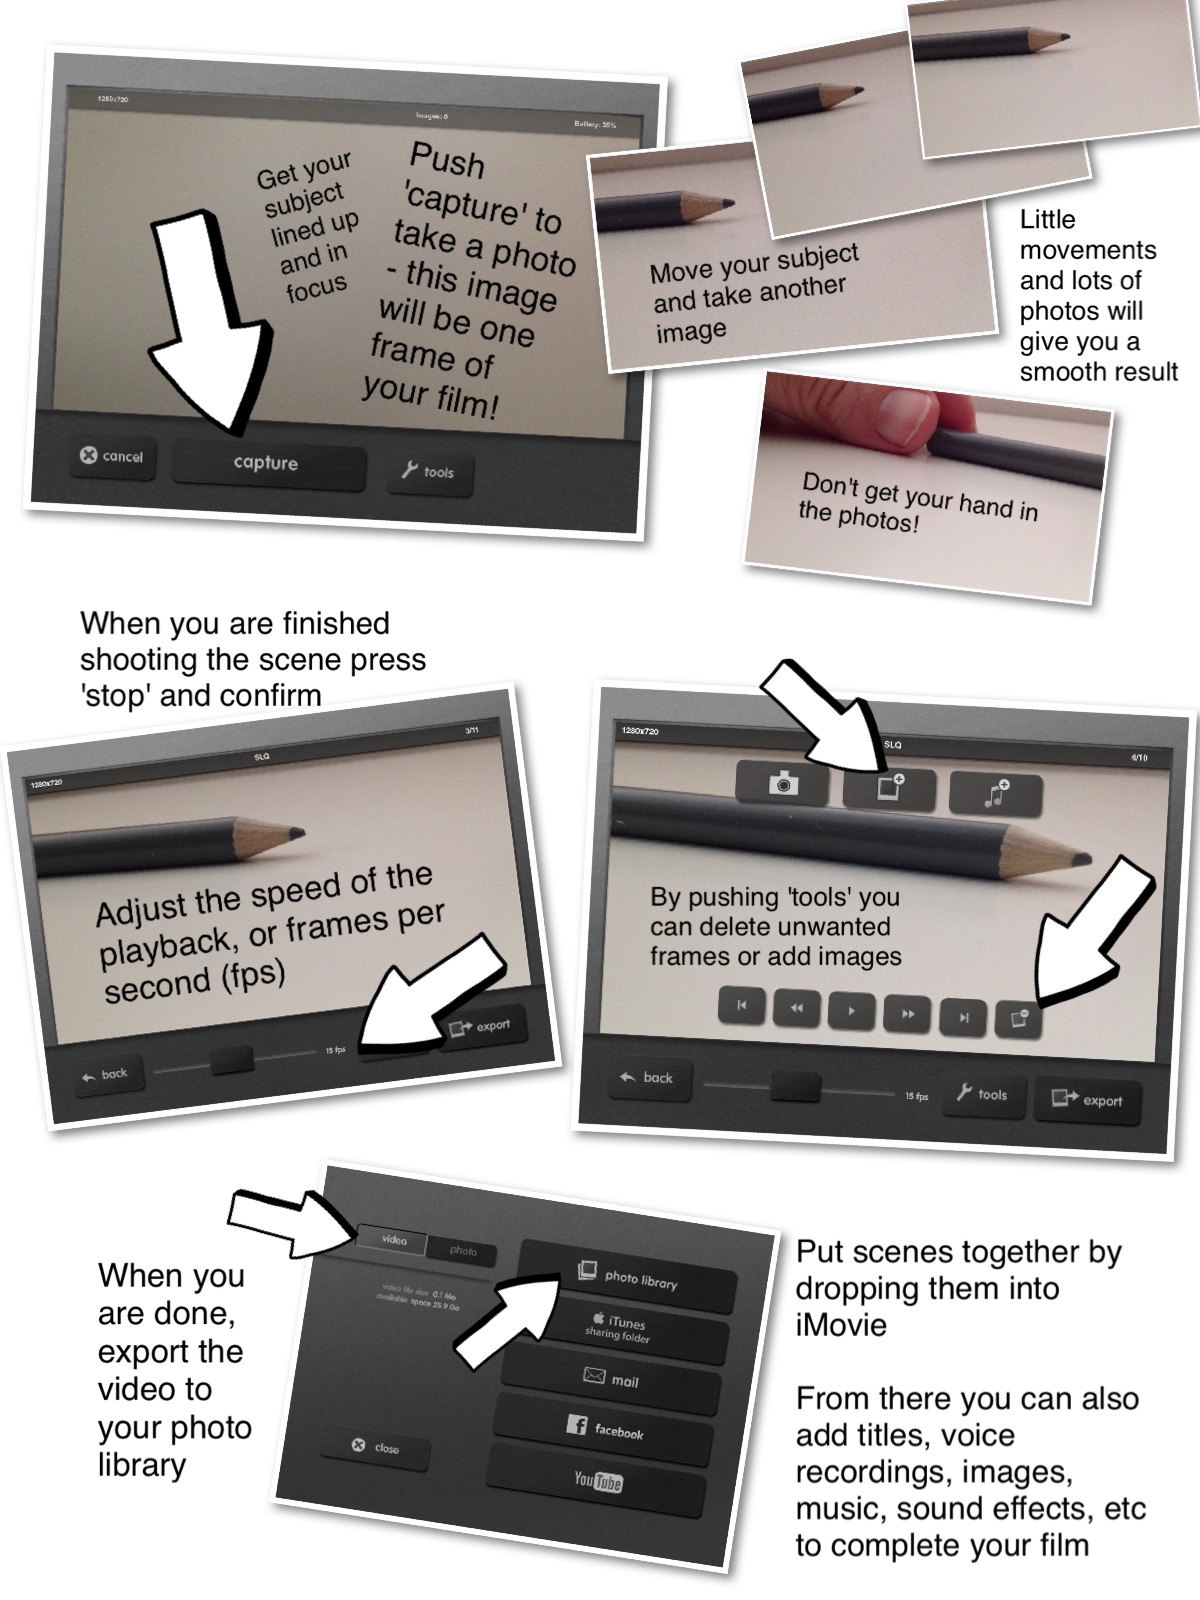
Here’s a step-by-step to guide you through the process of making a stop-motion movie using iMotion HD:
Animation Advice
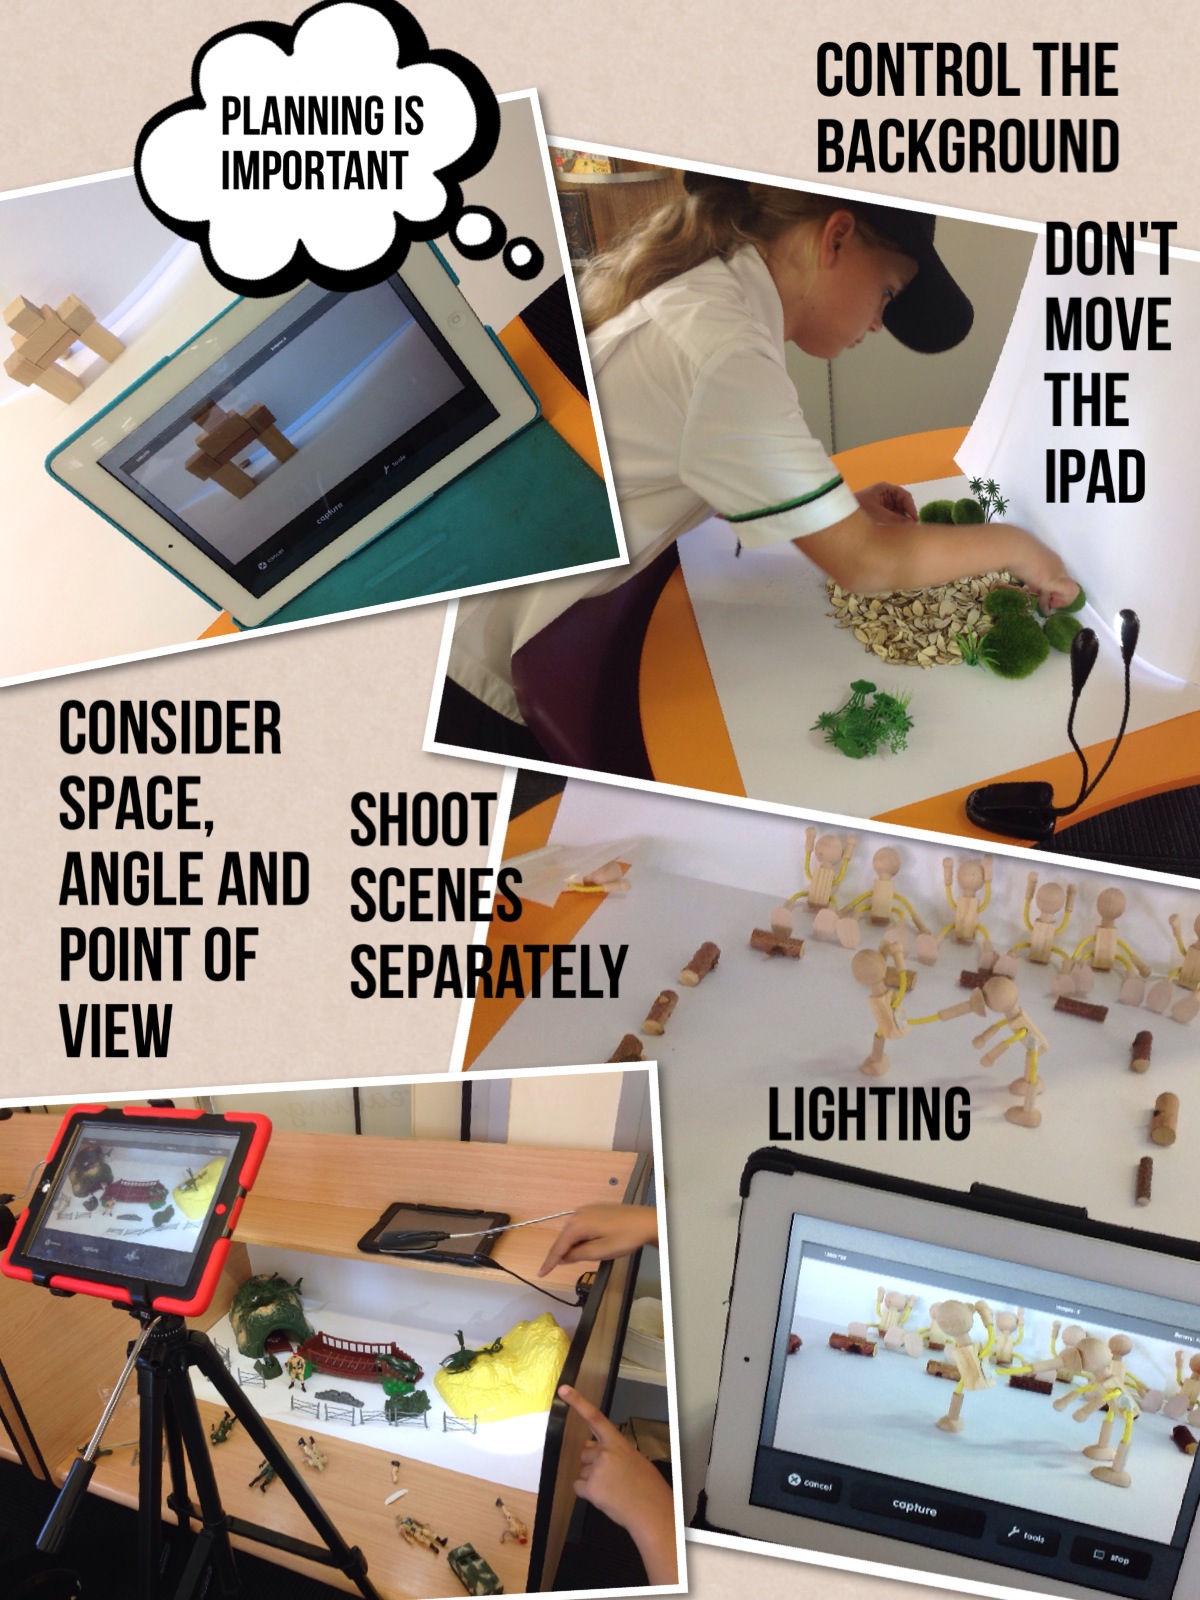
Top Tips for Beginner Animators
Once you know the rules, you can break them. However, when you’re starting out, there’s some key concepts you need to think about.
Take some time to consider and control the background
Clean coloured or white paper is fine, just make a little space and use it as a ‘stage’. Of course, you can also draw on this, use images, shoot on location or outside…you are limited only by your imagination.
Make the most of the lighting
Bright light is important to make the most of the camera on the iPad, so choose a well-lit area. I also have small LED light clamps that are battery operated to create shadows, spotlight characters or just light up a dull space.
Keep that camera still!
Okay, you don’t have to, but it’s often a case of once you know all the rules, then you can break them. To start with, the more successful animations involve moving the subjects of the film only. If you move the iPad and the subjects it’s likely to make the viewer motion sick! Encourage students to find a position where their iPad is secure and does not need to be moved for the duration of the scene. A stand-up case or a tripod can be very handy, but I find that students will find anything laying around useful to prop up their iPads if they need to!
Use a remote app
Sounds tricky, but it isn’t. You can download a remote for iMotion HD that allows you to click the photo capture by using your mobile phone. This means that you don’t have to have the iPad in a convenient position and you won’t shake the shot by touching it either. Check it out when you feel comfortable with the process.
Film one scene at a time
Using a variety of shot types and stitching them together is the way to go for longer movies. You can easily do this and create engaging films by dropping the individual scenes into iMovie, so avoid making massive clips. It’s also a lot less time and hassle if something goes wrong, which it does at times!
The best ever hint…
If you are struggling to take shots without catching your hand in the picture, use the same hand to move the subject and push the button. You can even put the free hand into your pocket and out of the way.
If you would like to continue exploring animation techniques on your iPad, or construct some more sophisticated films, below you’ll find some further resources.
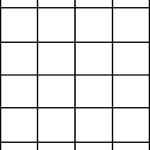
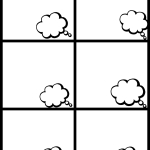
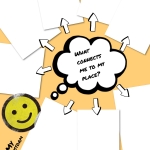
Planning Pages
Awesome Apps
If you are keen to try some new animation techniques or would like to make some more sophisticated films, here’s a list of some diverse iPad apps you can try, as well as some tutorials from a variety of teachers.
 Remote for iMotion HD gives you the ability to use your phone to take the pictures in your stop-motion movie.
 Lego Movie Maker gives you all the stop-motion features available in iMotion Pro, plus you can add soundtracks, titles and sound effects in the app.
 iMovie is the perfect tool to stitch your scenes together. Drop your movies in from your camera roll to create your film.
 DoInk Drawing is an excellent digital drawing animation app. If you would like to use your finger or a stylus to create illustrations that move, try this one!
 Puppet Pals Director’s Pass allows you to create characters from photographs, adding drawings of faces to produce a digital puppet show. Use back grounds and shoot scenes using your voice to bring characters to life.
Other notable mentions…
Animation HD & FlipBook HD – Popular illustration/drawing animation apps
DoInk Green Screen – Very useful tool for combining animation and film for creative effects (e.g.: putting your illustrated animations in front of a live-action film)
Exciting Examples
In this collection of clips you’ll find a treasure trove of ideas and inspiration. Some of these films have been made quickly and with relatively simple techniques, while others represent large scale and intricate productions. And, although these animations were not created to work with the theme of this competition, while you’re planning your own animation watching these films may inspire you with an interesting camera angle or a material you could use…so keep your eyes and your mind open!
The Me Bird from 18bis on Vimeo.
For the Pros…
How many different shooting techniques can you see in this clip?
How many different shot types can you spot in this clip?
Shooting great films – an explanation of ‘shot types’ from an article by Dan Goble
Basic camera shots.
Shots are usually defined by how much of the scene you show in your frame (what you see in your viewfinder). This can be controlled a couple of different ways.
One would be to change the distance between the camera and your subject by physically moving the camera closer or farther away. The other would be to change the focal length of your lens, which controls the angle of view. A zoom lens, which virtually all camcorders have, is a combination wide angle, normal and telephoto lens. You change the angle of view by zooming in to a narrow angle of view (telephoto) or zooming out to a wide angle of view. Here are the basic shots:
Long Shot ( LS )
A long shot frames a wide field of view of your subject and its surroundings. Long shots are also referred to as wide shots or establishing shots. An establishing shot establishes the subject’s location for your viewers by revealing its surrounding. It might also be used to cover broad action involving several people in a large area. Use long shots sparingly! Details are lost in long shots. Overuse of long shots is boring.
Medium Shot ( MS )
A medium shot frames more of your subject while still revealing some of the background. If your subject is a person, a medium shot would show the person from about the waist up. Medium shots provide more detail than long shots, which makes them more interesting to your viewer.
Closeup Shot ( CU )
A close-up focuses your viewer’s attention on specific details. It demands that the viewer concentrate on the information you are giving them. In storytelling, close- ups have great emotional impact. They can also be used to give the audience information the characters in your video don’t have. For example, showing a close- up of a sign reading “wet paint” right before a medium shot of your character in the process of sitting down on a painted park bench, would build anticipation and set up the audience for the laugh. A close-up of a person would frame the subject from the top of the head to the top of the shoulders. Human emotions are best revealed in close-ups!
Extreme Closeup Shot ( XCU )
An extreme closeup shot frames only a portion of your subject. It is a very dramatic shot that can generate great visual excitement. XCUs might be used to show the face of a wristwatch or words being typed on a computer screen. Like the long shot, extreme closeups should be used sparingly, when it is important that your viewers see great detail. An extreme close-up of a person’s face would detail the eyes, nose and mouth.
Read Don’s whole article which explores shooting angles, techniques and styles in more detail here.
Want to see a variety of shots at work? Check out this Toy Story ‘Master Shots’ clip to discover the incredible variety of angles and points of view a film maker can use to create interest, excitement and mood.
Josh Herrig Master | Shot Lighting Reel from joshua herrig on Vimeo.




Pingback: So Much to Learn | Technology with Mrs. Gorneau